The Hidden Powers of Properly Installed Doctor Blades: Unveiling the Printing Efficiency Secrets
- PinLong
- 2023/10/10
- 142
- DIGITAL PRINTER SLOTTER
- BOX MAKER
- HIGH GRAPHIC PRINTER VARNISH DRYER
- HIGH SPEED COMPUTERIZED PRINTER
- AUTOMATIC PRE-FEEDER MACHINE
In corrugated cardboard printing, correct installation of doctor blades is crucial for optimizing printing performance and controlling costs. In the past, the design complexity of box printing machines made doctor blade installation challenging, often leading to several hours of machine downtime when changing blades. Proper installation of doctor blades is essential to ensure successful ink transfer and effective printing.
When doctor blades are properly installed, the lifespans of both the doctor blade and the anilox roll are extended simultaneously, maintaining consistent printing results. Improper installation can accelerate wear and tear on both the doctor blade and the anilox roll, causing ink leakage from the doctor blade chamber and wasting production time due to printer stoppages. Factors affecting the correct installation of doctor blades include the installation position and orientation of the blade, blade contact angle, horizontal adjustment, and pressure. Let’s discuss these factors one by one.
1. Installation Position and Orientation of Doctor Blades:
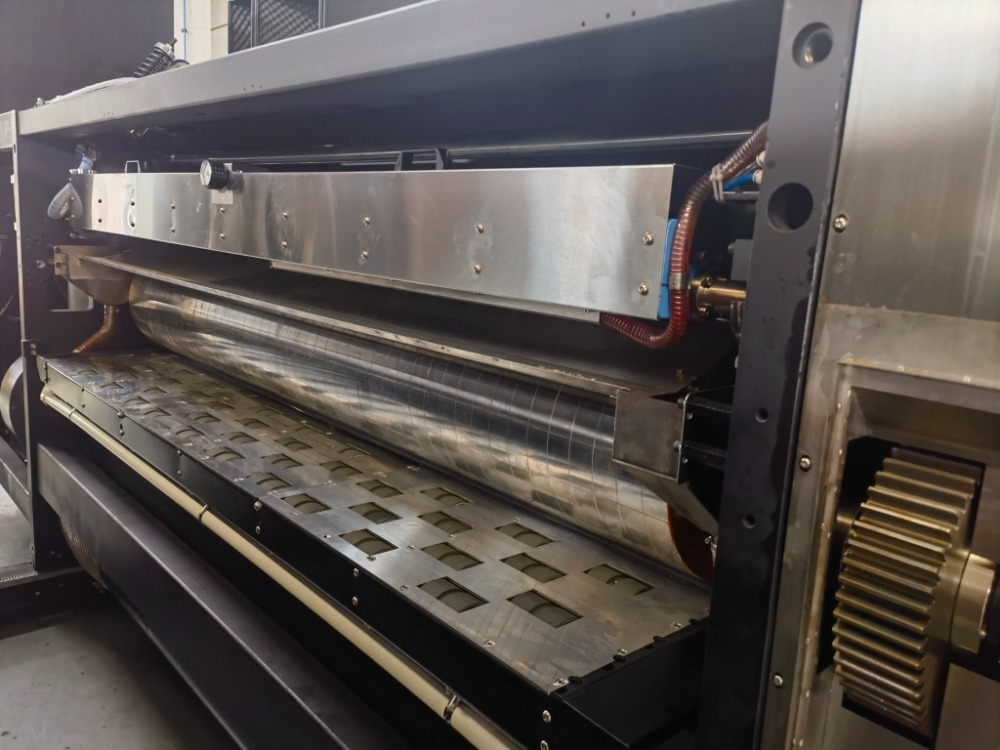
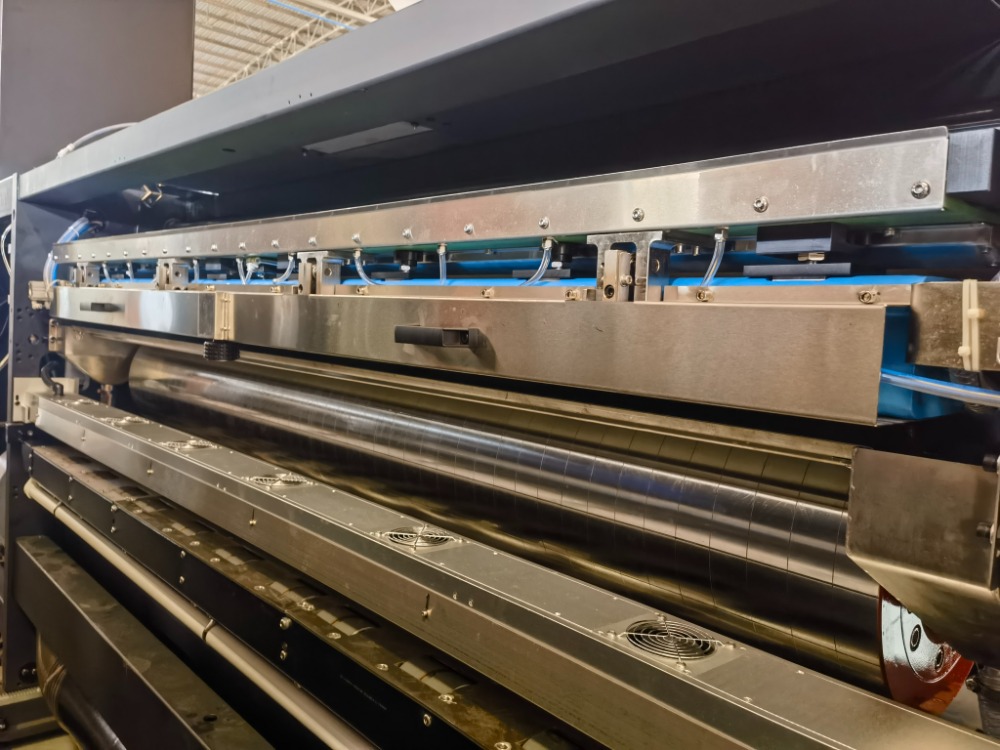
When installing doctor blades, it is essential to accurately position the doctor blade and the anvil to achieve the best printing results. Depending on the rotation direction of the anilox roll, doctor blades can be installed at the top or bottom of the doctor blade chamber. It’s important to note that the doctor blade is the final point of contact for ink transfer to the anilox roll, while the anvil is always installed opposite to it.
Incorrect positioning of the doctor blade and anvil means there won’t be a proper point of contact for the doctor blade to scrape off the right amount of ink before ink transfer. The tip of the doctor blade’s bevel should face toward the doctor blade chamber to prevent streaking. The anilox roll and doctor blade are designed to work together, so proper blade installation and orientation are crucial for their coordinated operation.
2. Doctor Blade Contact Angle:
The contact angle of the doctor blade refers to the angle at which the blade contacts the circumference of the anilox roll. The ideal contact angle for the blade with the anilox roll’s circumference is approximately 30 degrees. If the angle is less than 30 degrees, most of the blade’s edge will be in contact with the anilox roll, making it difficult to scrape off ink properly. Conversely, if the contact surface exceeds 30 degrees, the blade won’t perform the optimal ink scraping.
3. Horizontal Adjustment and Pressure:
Proper installation of the doctor blade ensures consistent and balanced contact with the anilox roll. With the blade appropriately adjusted, applying light pressure on the anilox roll will consistently achieve effective ink removal. The recommended pressure is between 25 pounds to 30 pounds or 1.7 bar to 2 bar. During blade installation, tightening should start from the middle towards the ends, avoiding over-tightening of the clamps, which could cause the blade to bend. Excessive pressure during blade installation can result in blade bending due to force, losing a good contact point with the anilox roll. In such cases, the anilox roll becomes filled with ink. Proper doctor blade clamping pressure not only ensures ink scraping quality but also extends the blade and anilox roll’s lifespan.
If the anilox roll makes uneven contact with the doctor blade chamber, it causes uneven ink scraping. Several reasons could cause this issue, such as an uneven doctor blade chamber, poor positioning of the doctor blade in the fixture, uneven pressure on both sides of the doctor blade chamber, or uneven pressure adjustment of the bolts locking the doctor blade. In such situations, operators often increase pressure continuously until the doctor blade makes complete contact with the anilox roll. However, this additional pressure and friction accelerate wear and tear on the doctor blade chamber and anilox roll.
Print machine operators often attempt to bring the doctor blade chamber closer to the anilox roll to address ink leakage issues, which often exacerbates ink leakage from both ends of the doctor blade chamber. In fact, choosing suitable ink containment pads and regularly replacing them can prevent ink leakage. It’s essential to avoid solving the issues of an uneven doctor blade chamber or ink leakage by simply increasing blade pressure.
Managing ink scraping blades effectively to reduce printing faults
To ensure the proper operation of the doctor blade chamber system, follow these steps:
1. Before installing the ink containment pads, install the doctor blade and anvil.
2. Slowly bring the doctor blade closer to the anilox roll.
3. Ensure both the doctor blade and anvil simultaneously contact the anilox roll. If not, make system adjustments until both blades make simultaneous contact with the anilox roll.
4. Repeat the process on the drive side and the operator side of the printing machine.
5. Set up the doctor blade chamber to allow the doctor blades to move back and
CONTACT US

Guangdong Pinlong Precision Technology Co., Ltd.
We are always providing our customers with reliable products and considerate services.
If you would like to keep touch with us directly, please go to contact us


